Reversing the Head on your Tiger 50, so the blade grips become leading edge controlled.
If you would like a larger view of any picture, simply click on the small picture.
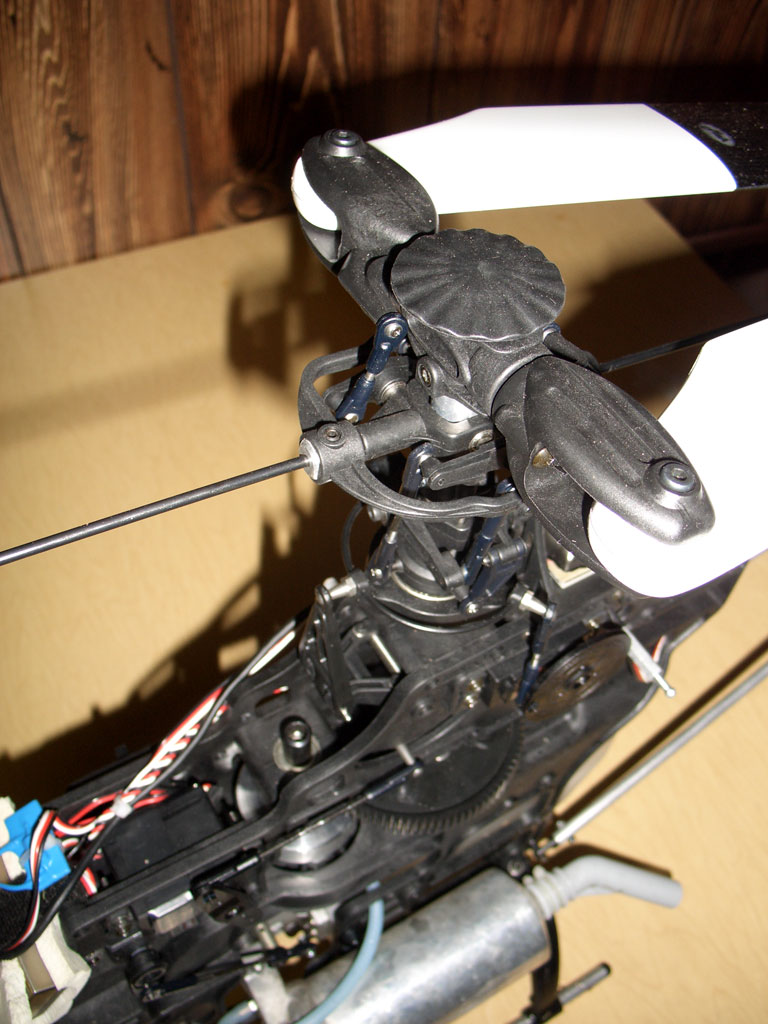 |
This is the normal head as it is shipped. Note the control arm on the blade grip is trailing edge. |
 |
1) disconnect the washout arm set, and the seesaw control from the swashplate. Then remove the head by taking out the bolt that holds the head on the main shaft. |
 |
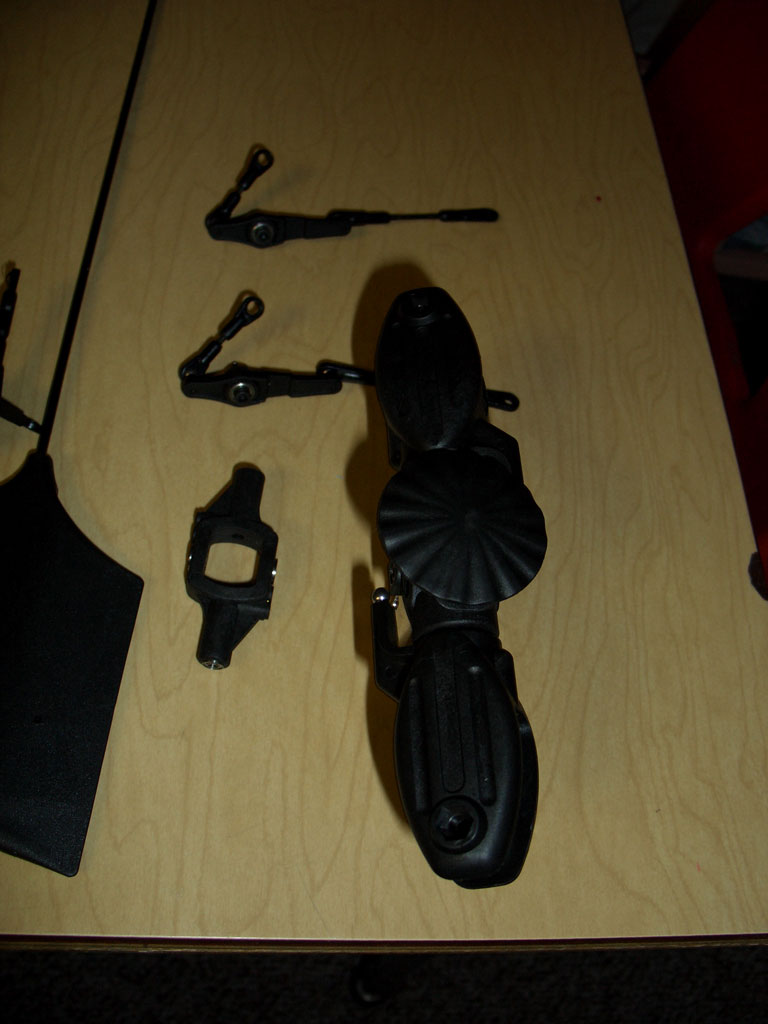
2) disconnect the washout from the rest of the head, and then remove one paddle, and remove the fly bar from the head assembly. |
 |
3) if you you do not need to replace any part of the blade grips, or feathering spindle, you can simply remove the ball link of the end of the blade grip control arm, and swing the blade grip to the other side, and then install the ball link again. |
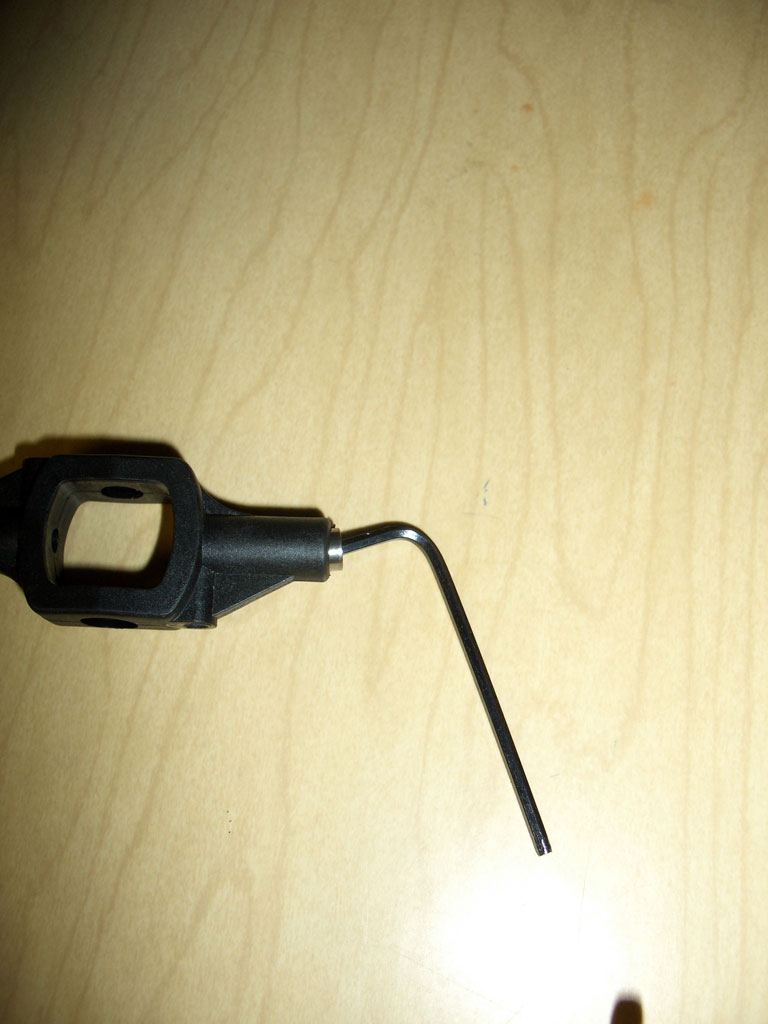 |
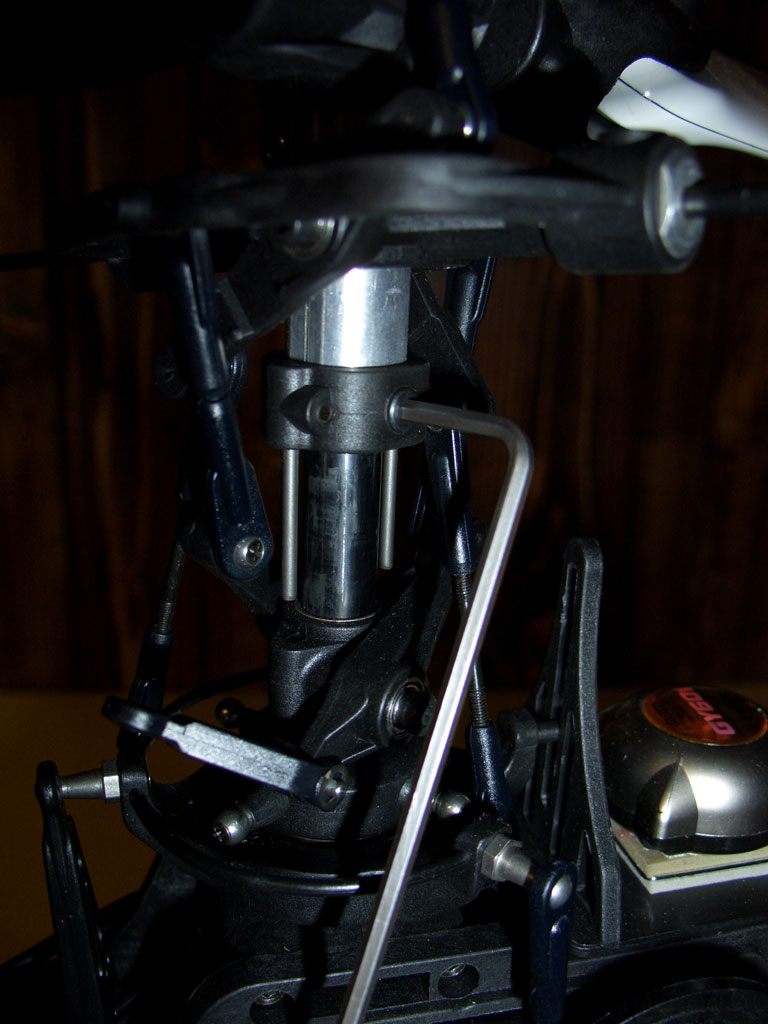
4) If you have not already done so, this is a great time to install the new seesaw. If you have difficulty removing the bearings form the old seesaw, use a small allan wrench to pop it out. |
 |
5)Now you are ready to start putting the head back together. |
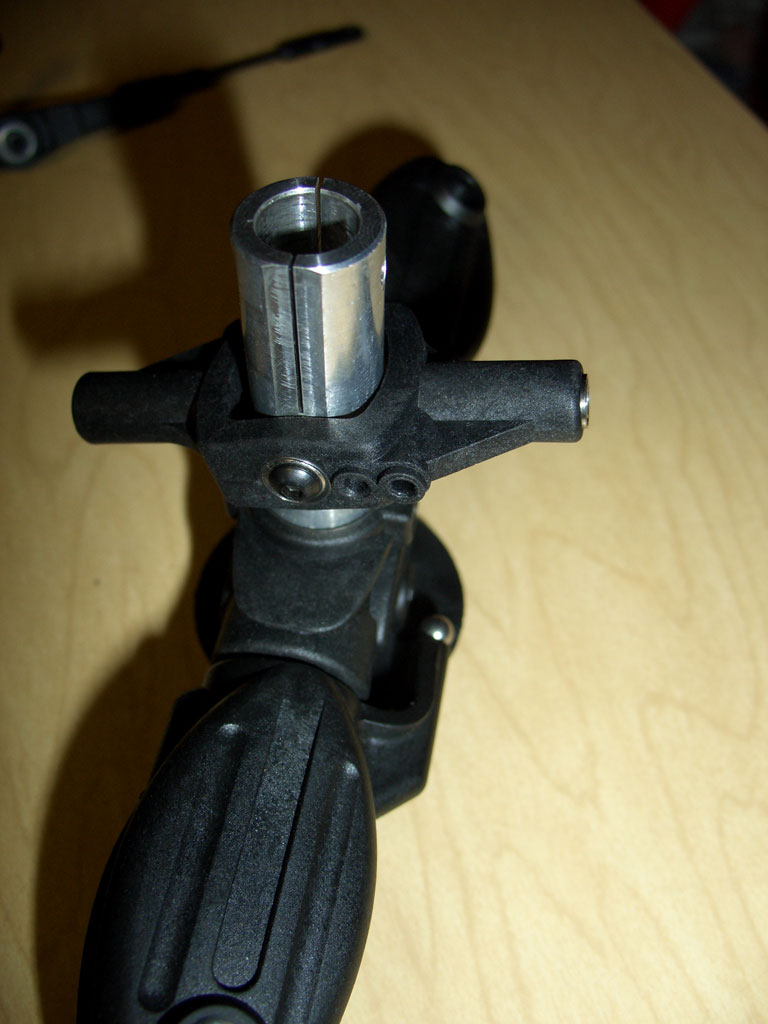 |
6) Using the button bolts provided with the new seesaw, make sure the holes on the seesaw are on the same side as the blade grip control arm. |
 |
7) when reinstalling the flybar control lever assembly, make sure you install it upside down, as to prevent possible binding. the set screws for holding the flybar in place should now be on the bottom, and not the top. |
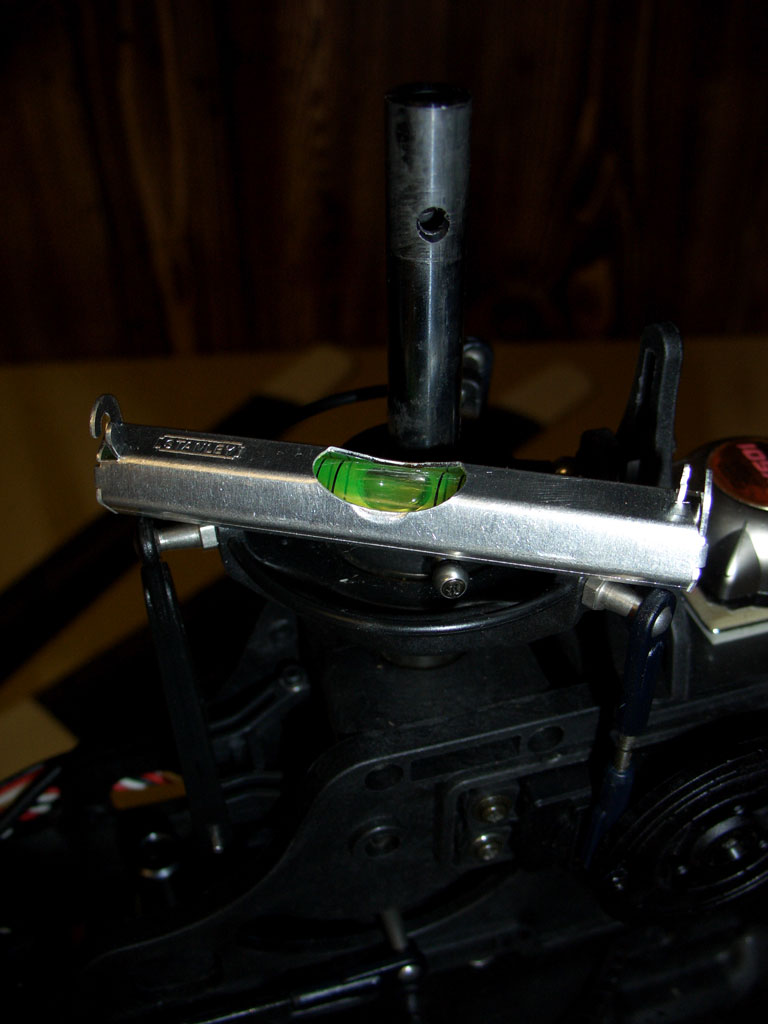 |
8) Since you have the head off, this is a great time to level your swashplate. Place a level (this happens to be a stanley line level, with a flat bottom) on the swash plate so that it rests on the swash plate, and not the top of the ball links. Level your swash plate at 0 pitch, and then move to full positive, and full negative. Make sure the the swash plate stays level at all 3 positions. Adjust the ball links at 0 pitch to make it level, and use Radio end points to make it level at full positive, and negative. |
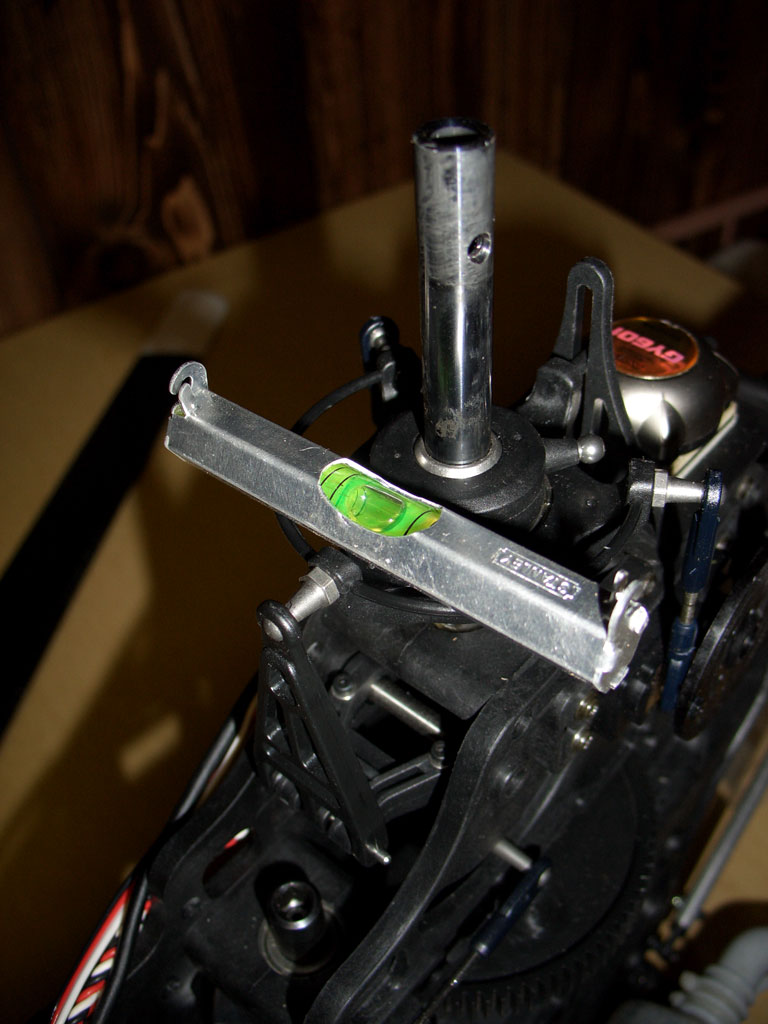 |
9) Also check left and right levelness at the same time. |
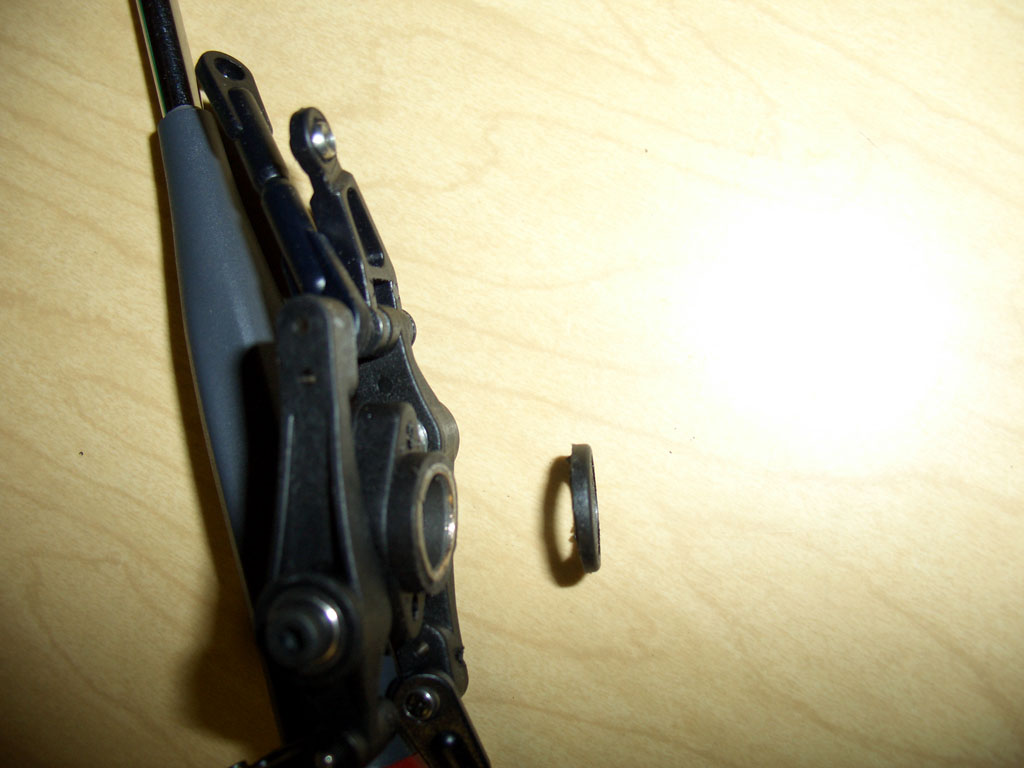 |
10) Using a dremel tool, cut off about 1/8" off the long end of the washout. Take care to only cut a little at a time, and then cool the washout in water so that the melt does not melt the plastic. |
 |
11) Reinstall the washout upside down, and since the Tiger has ball links that fit better one way then the other, the easiest way to get the washout connected back to the swashplate is to remove the ball from the swashplate, and then put it through the washout connecting arm, and then screw it back into the swashplate. when you get close to being tight, pop the connecting arm ball link over the ball, and re-tighten. |
 |
12) Now reattach the head to the main shaft, and connect all the ball links. Note, you will have to turn some of the ball links 1/2 turn so they connect properly, since the fit better one way than the other. |
 |
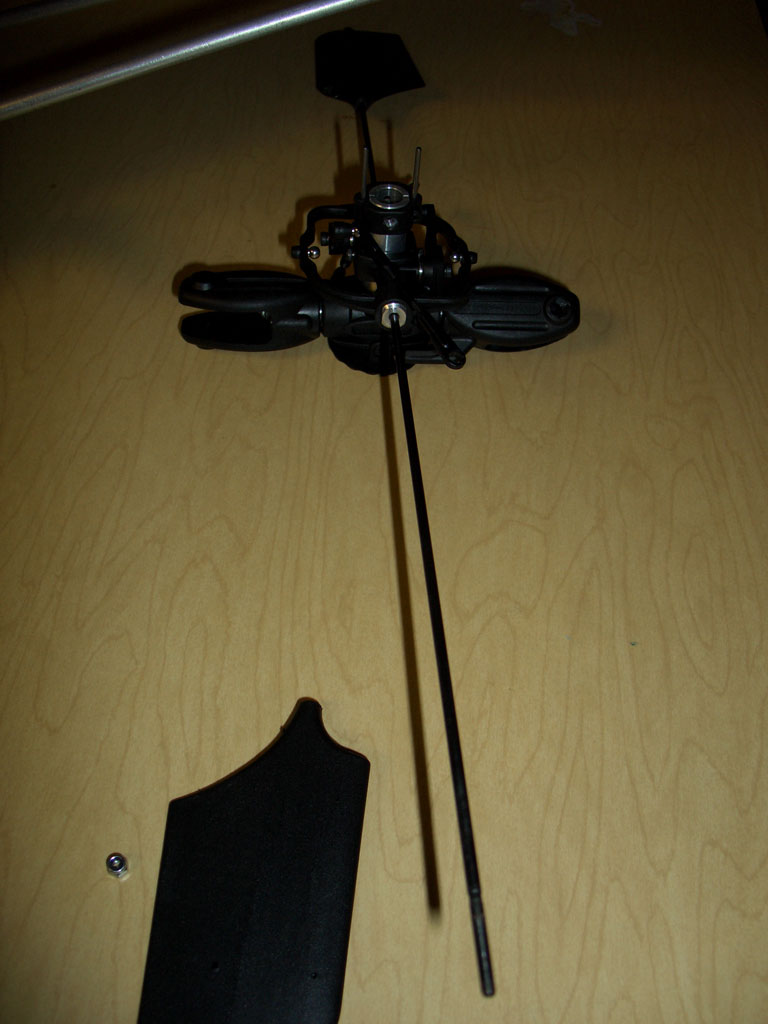
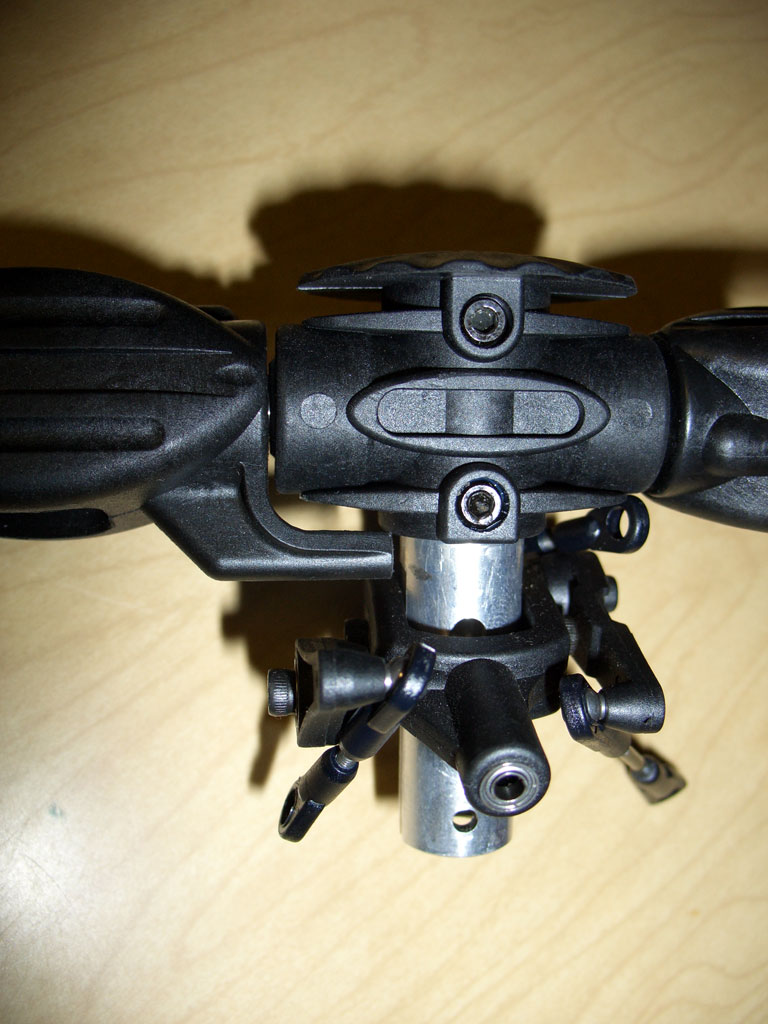
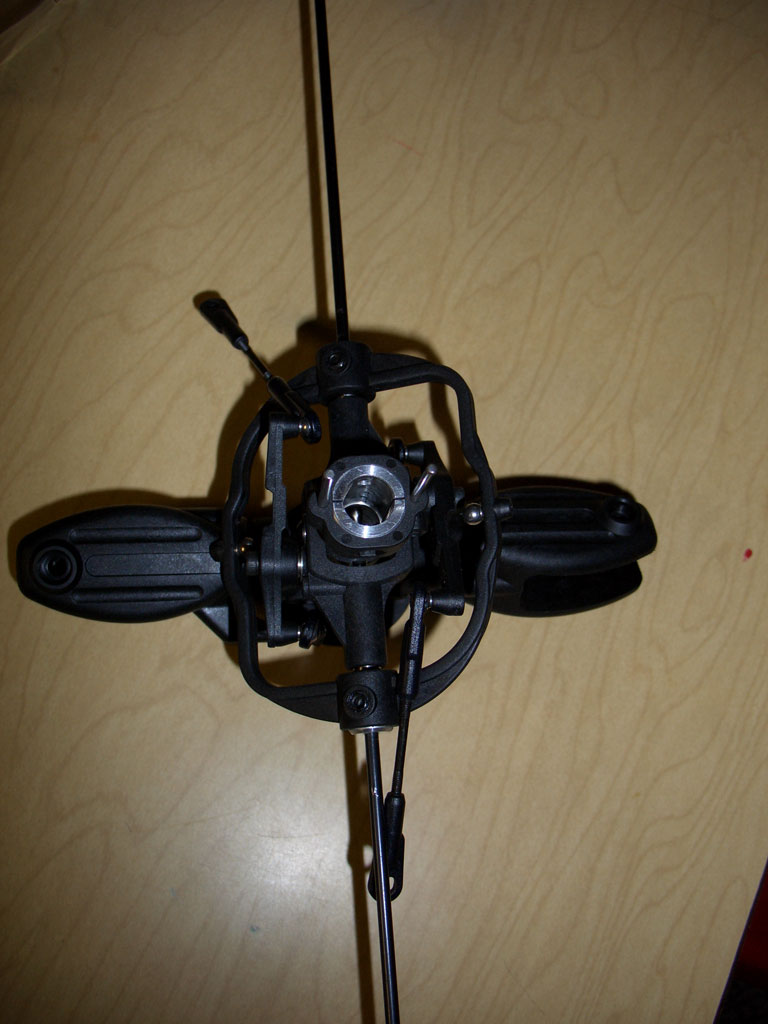
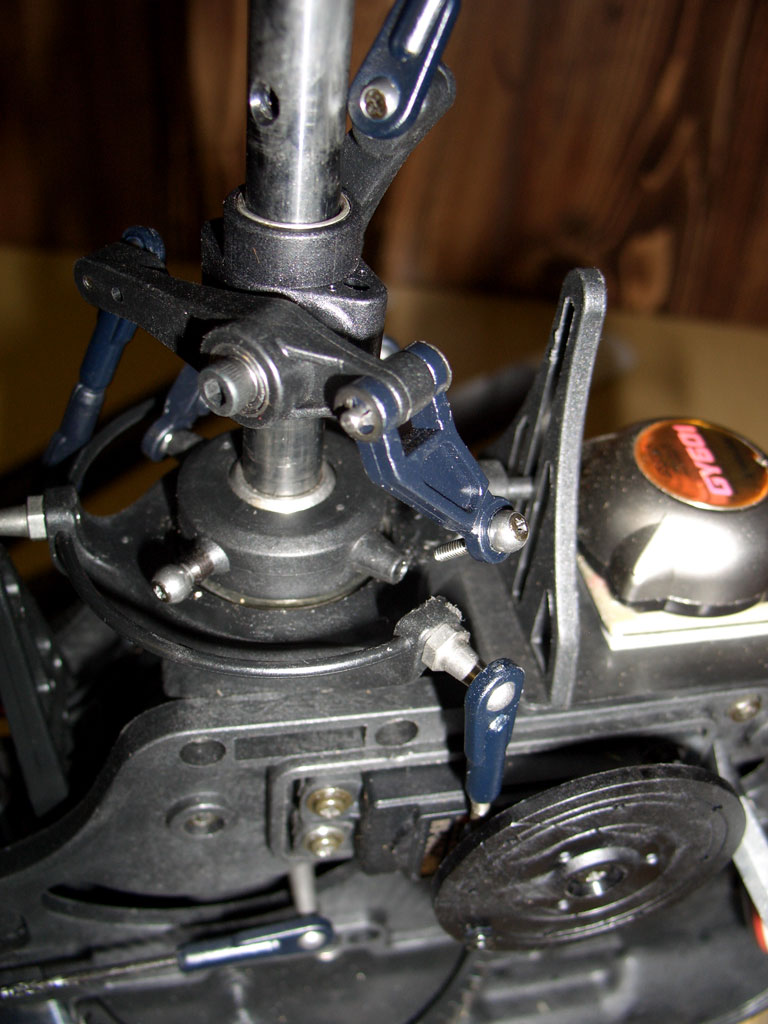
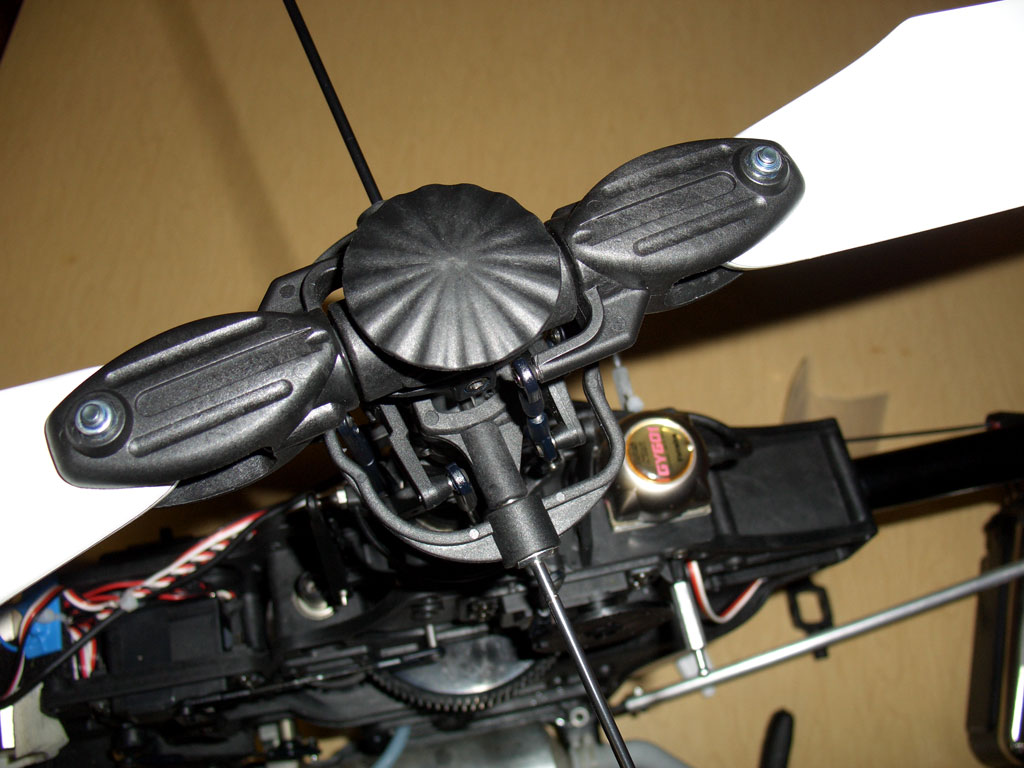
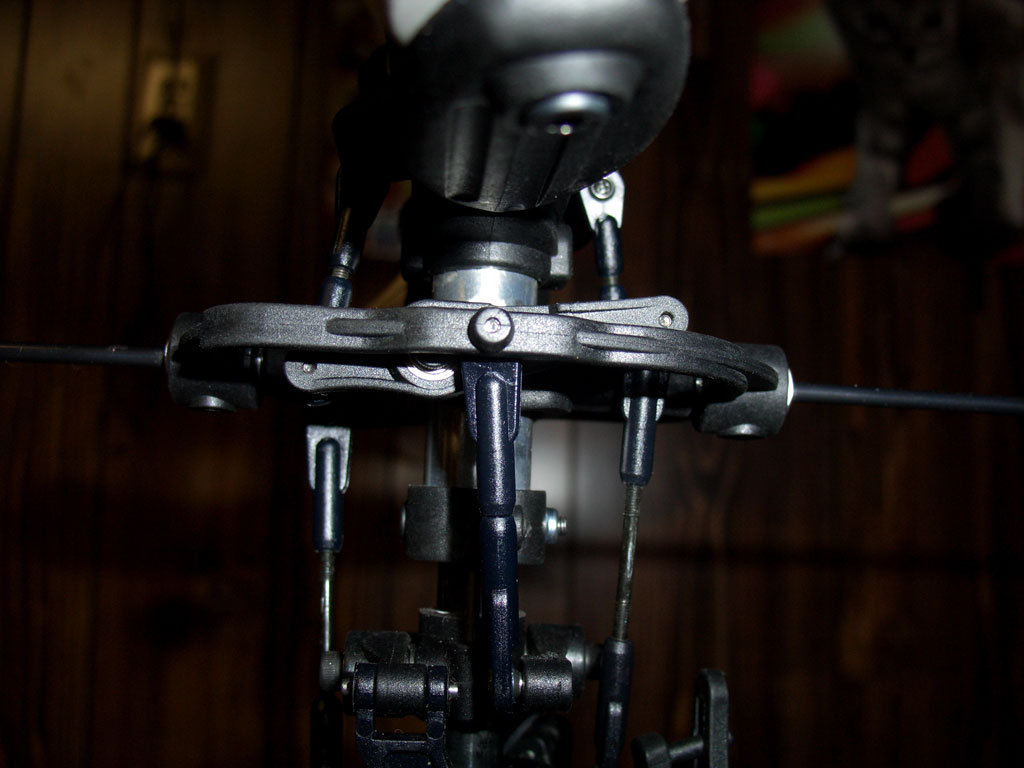
13) This is what your reversed head should now look like. |
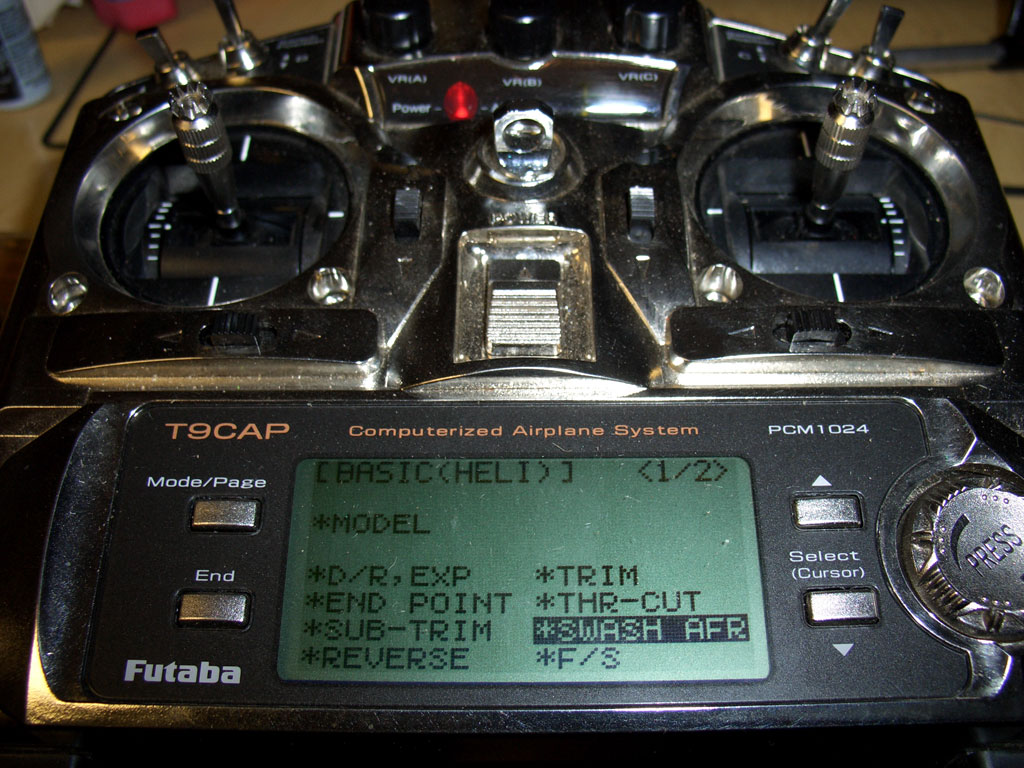 |
14) Now you need to reverse your swash plate on your radio. I am using a Futaba 9C. Go into the menu, and select *SWASH AFR |
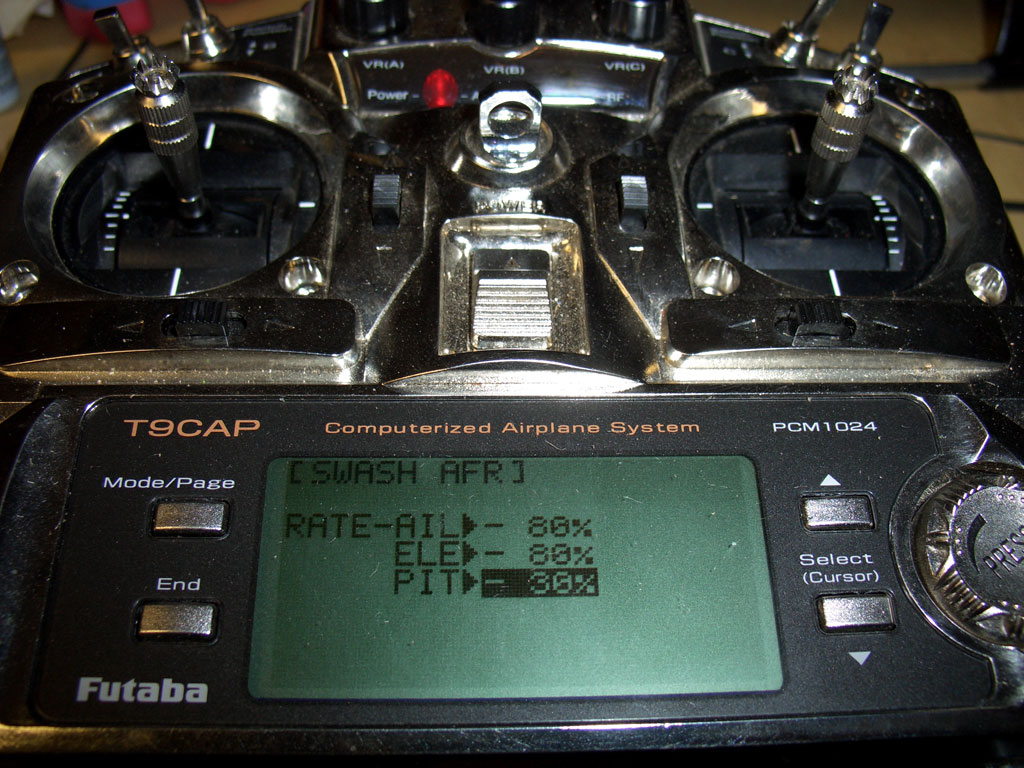 |
15) On the Pitch, if for example it reads +30, you should now change it to -30. Or if it reads -35, change it to +35. After this, when you have full positive, your swashplate will be on towards the bottom of the main shaft, and when you have full negative, you will be close to the top of the main shaft. |
 |
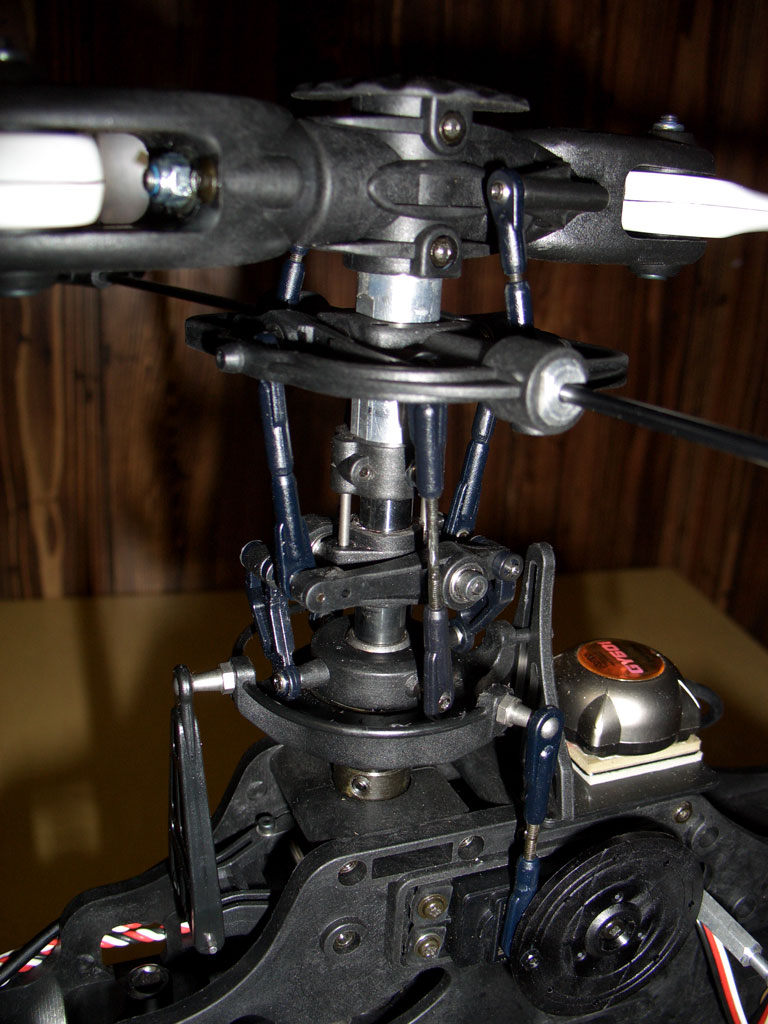
16) Now you have to level the blades again at 0 pitch. when doing this, make sure the seesaw arm remains level with the flybar control lever. Keeping this level at 0 pitch will aid in the control of your heli in 3D flight. |
 |
If your seesaw looks like this in respect to the flybar control lever at 0 pitch, adjust the linkages to make it level, and keeping the blades at 0 pitch. |
Hope this helped. Have fun tearing up the skies with your Tiger 50